Summer brings with it the promise of fun-filled beach days and sun-kissed memories. But as we soak up the sun, the unwelcome souvenir of a tan often lingers. Don't worry, we've done the hard work for you, uncovering the best-kept sun tan removal secrets to help you.
From natural home remedies to DIY masks, we have all the tips you need to remove tan from face and hands. Get ready to discover the art of tan removal and step into the sun with confidence!
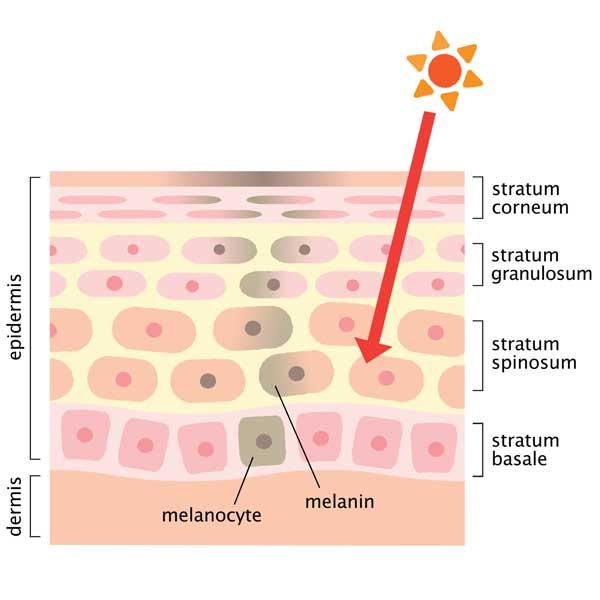
What Causes Tanning?
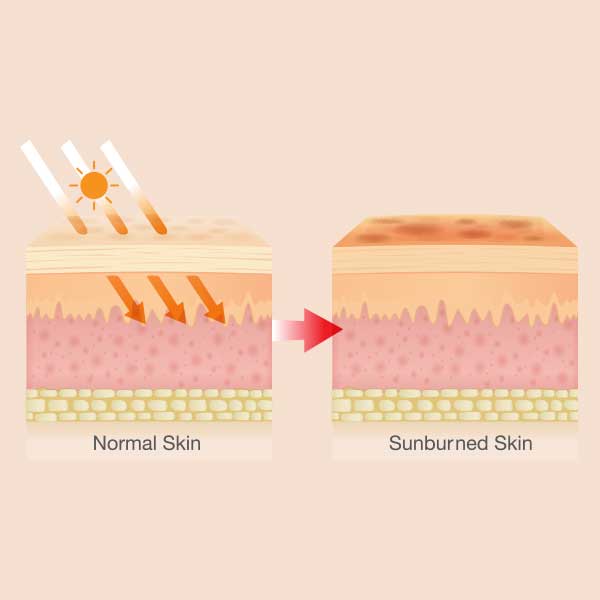
Tanning is caused by exposure to ultraviolet (UV) radiation, which triggers the production of melanin in the skin. Melanin darkens the skin as a protective response to UV rays, resulting in a tan. (1)
Melanin shields by absorbing and scattering UV rays, lessening their harm to deeper skin layers. However, tanning offers only minimal protection against UV radiation.Long exposure to the sun can lead to sun burns. (2)
What experts say -
“Excessive sun exposure can lead to skin damage and increase the risk of skin cancer. That's why it's essential to practice responsible sun exposure, always wear sunscreen, protective clothing, and seek shade when the sun is at its strongest.” - Dr Aruna Purohit
How To Remove Tan From Face?
Some people may consider opting for chemical treatments like bleaching and peels to get rid of tan instantly. But while these treatments may promise quick tan removal, they often come with long-term risks and harm to the skin. So instead, we recommend the safer and more effective path of natural home remedies.
In this section, let’s explore gentle and nourishing solutions for face tan removal.
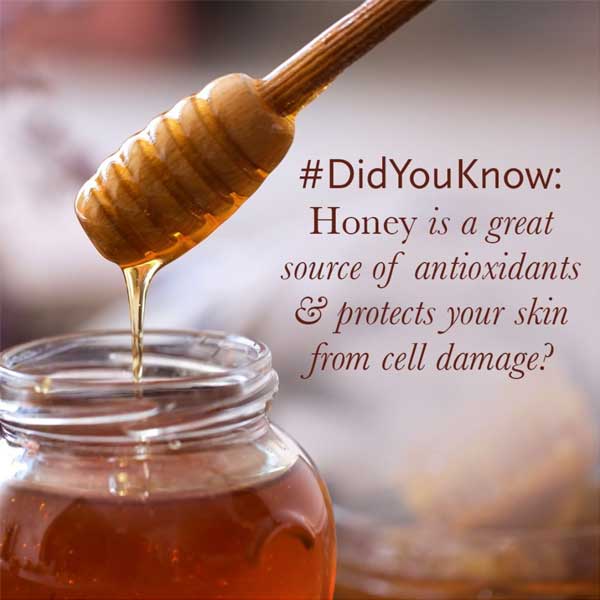
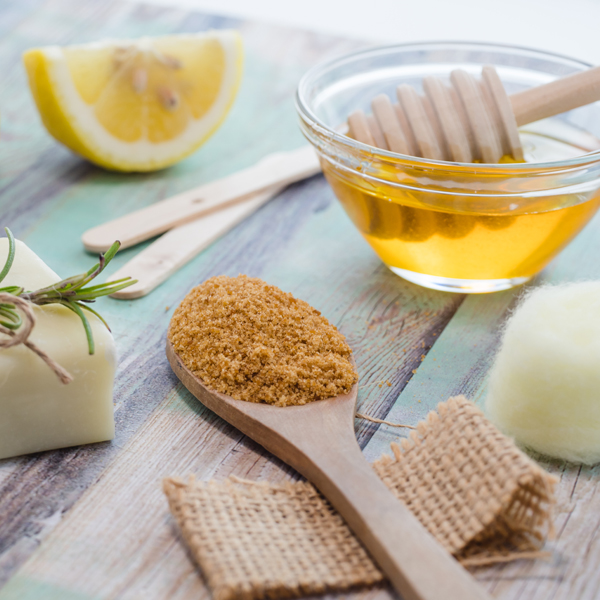
Lemon Juice and Honey
Lemon juice is a powerful tan removal agent, thanks to its ascorbic, glycolic, and alpha-hydroxy acids that have a natural bleaching effect. Abundant in Vitamin C, it quickly helps in removing tan.
To make a tan removal mixture, squeeze fresh lemon juice and add some honey (a natural humectant) to it. Apply the mixture on your skin and let it stay for 15-30 minutes before washing off with a mild cleanser. If you have oily skin, avoid leaving the honey on your skin for too long.

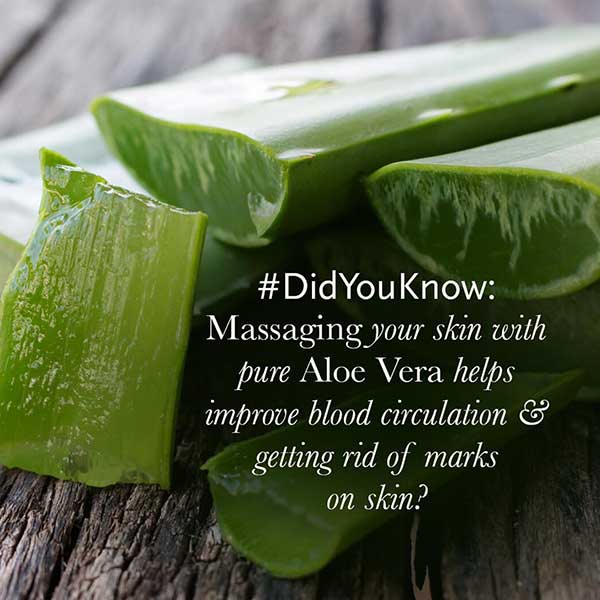
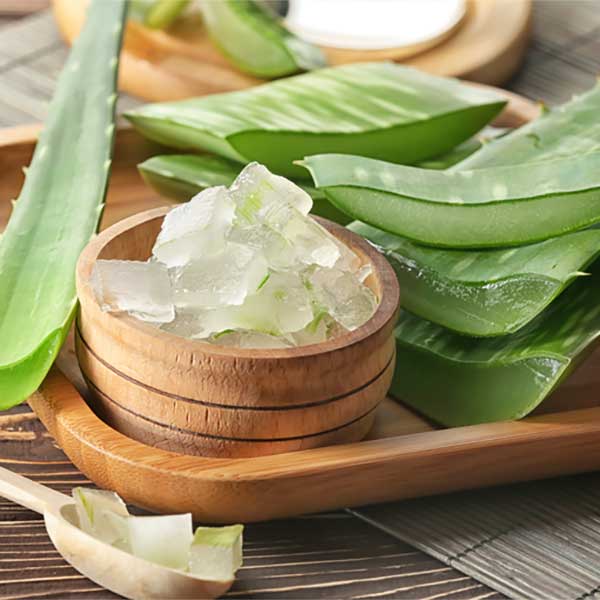
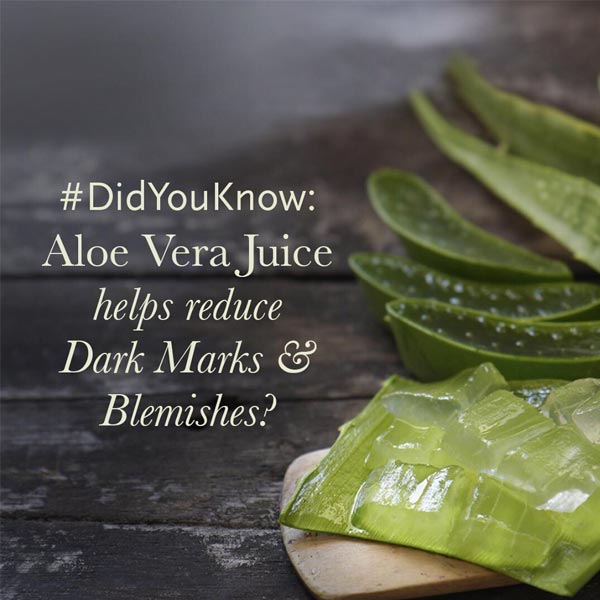
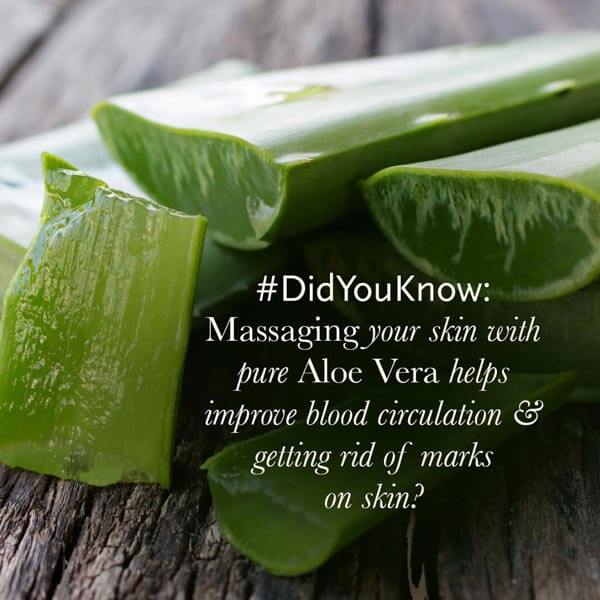
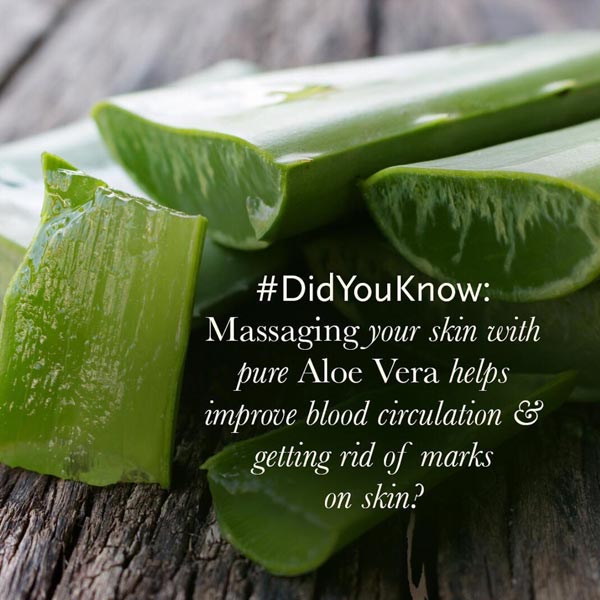
Aloe Vera Gel
Aloe vera gel is a fantastic natural remedy for face tan removal. Renowned for its soothing properties, it reduces inflammation and redness caused by sun exposure while promoting skin healing. (5)
To use aloevera gel for tan removal, apply a generous amount to the tanned areas on your face, leaving it on for 20-30 minutes. Afterward, rinse it off with cool water. Regular application will lighten tan and keep your skin hydrated and nourished.
Tomato
Tomatoes are excellent for tackling face tanning, thanks to their antioxidant content, particularly lycopene, which neutralizes UV-induced free radicals. Additionally, tomatoes provide skin-repairing vitamin C and natural acids that exfoliate, reducing tan lines and promoting an even skin tone.
After a day under the sun, grab a ripe tomato and cut it into slices or blend it into a pulp. Apply the slices or pulp directly to the tanned areas on your face, leaving it on for 15-20 minutes. Then, rinse with water and gently pat dry.
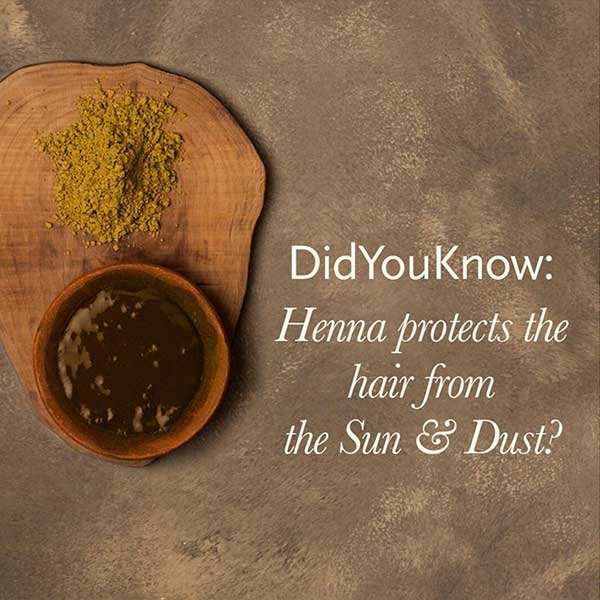
Multani Mitti For Tan Removal
Multani Mitti, also known as Fuller's Earth, is a time-tested and natural solution to remove tan from your face. This magical clay gently exfoliates, removing dead skin cells and dirt while cooling and soothing sun-exposed skin.
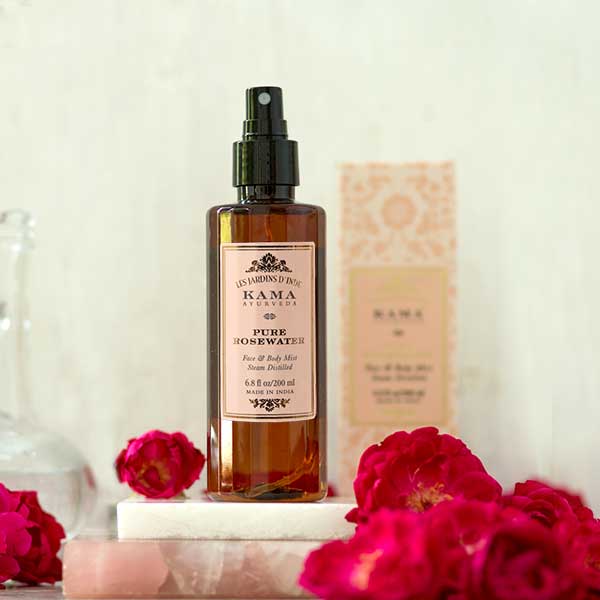
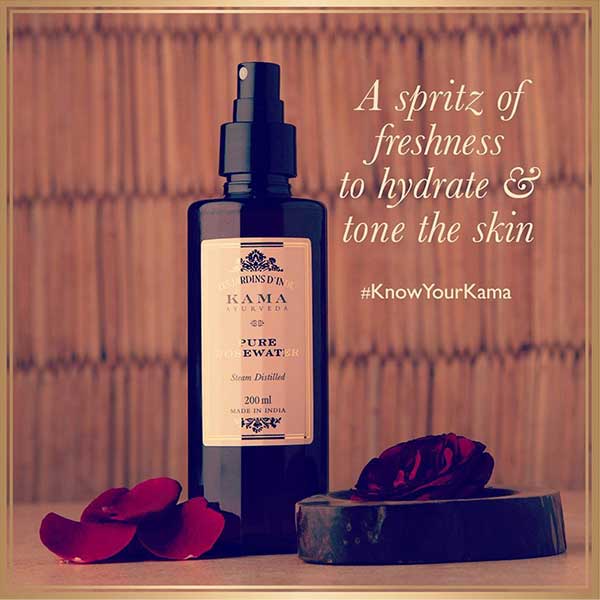
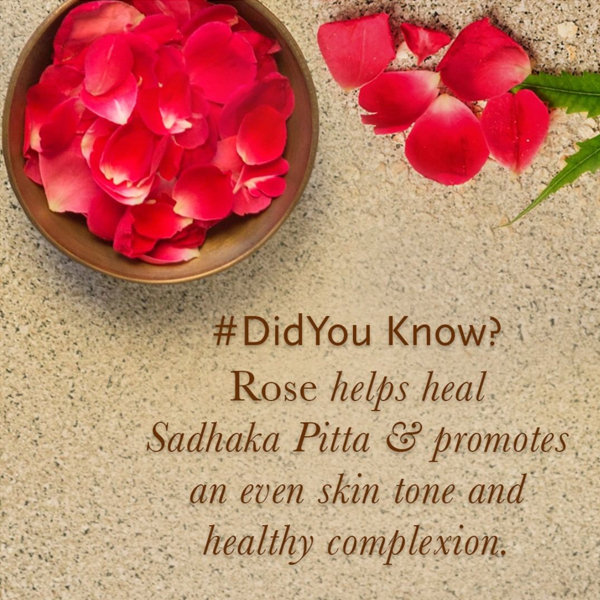
Add Rose Water to Multani Mitti and make a smooth paste. You can use chilled rose water for a more soothing effect. Apply a layer of the paste on the affected areas and let it dry. Wash off with water or a mild cleanser.
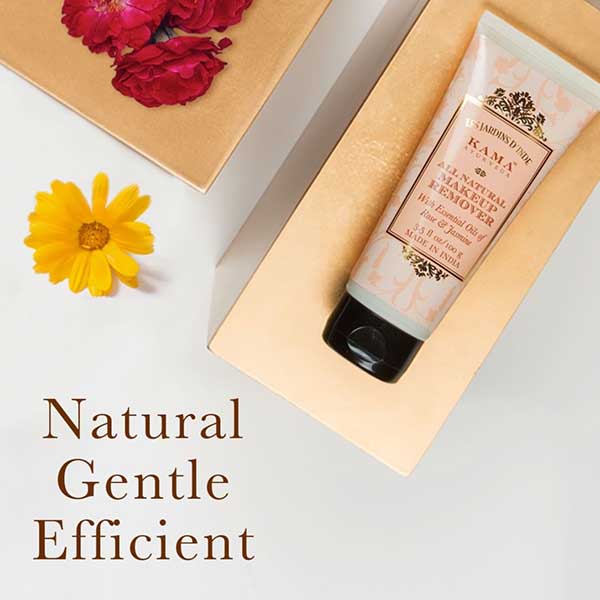
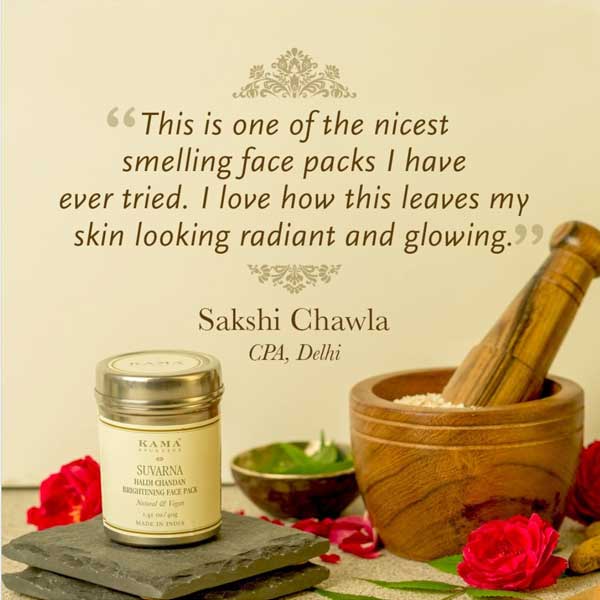
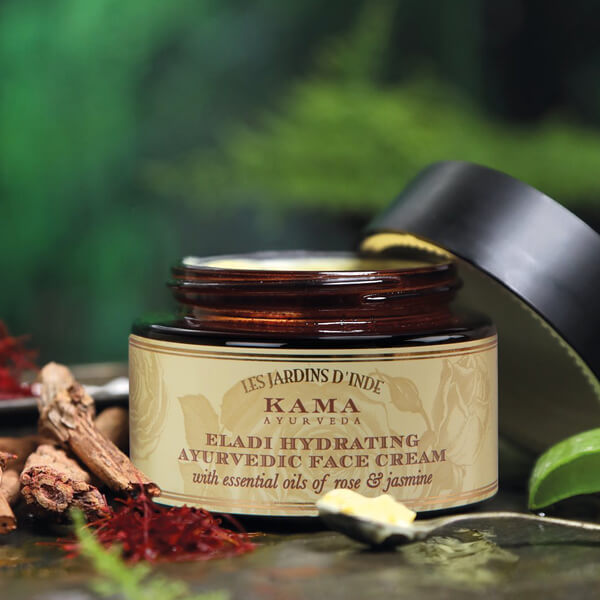
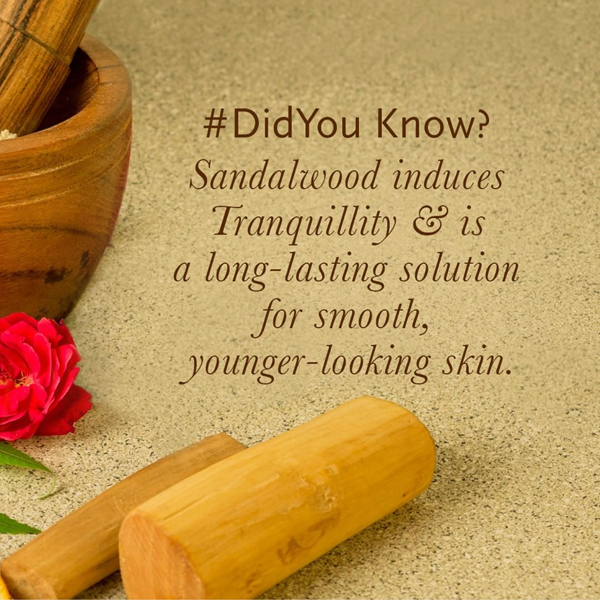
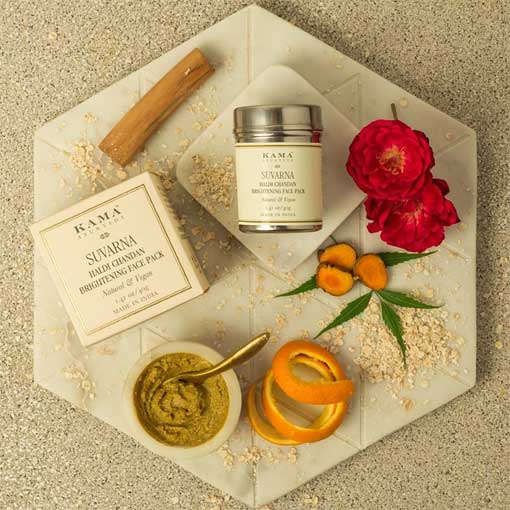
You can also use Kama Ayurveda’s Suvarna Haldi Chandan Brightening Face Pack has Multani Mitti combined with other skin brightening Ayurvedic ingredients such as Sandalwood and Turmeric.
Also read - 20 Best Tan Removal Face Packs To Remove Sun Tan
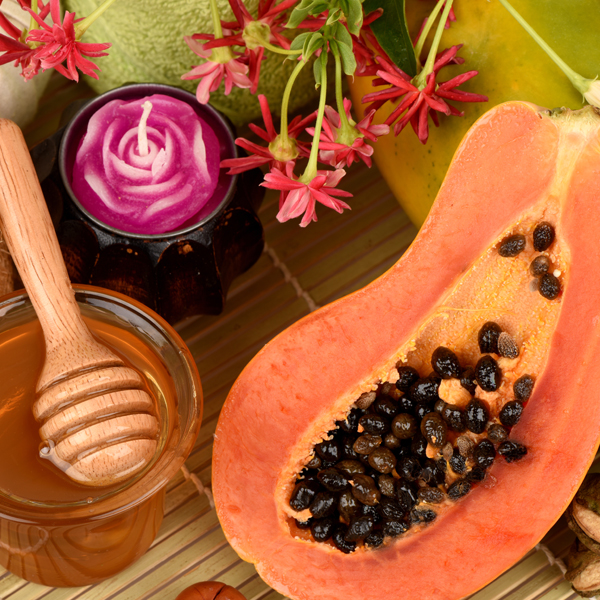
Papaya
Papaya is a skin superhero when it comes to tanning! Packed with natural enzymes like papain and AHAs, it gently exfoliates, removing tan and leaving your complexion brighter.
Its antioxidants combat UV damage, while its hydrating properties nourish the skin. Simply apply papaya pulp directly to tanned areas for 15-20 minutes, and watch the magic unfold as it effectively removes tan and revitalizes your skin.
Coconut Milk
Coconut milk is a treasure trove of skincare benefits, enriched with cytokinins – potent plant hormones with anti-aging properties. These miraculous compounds aid in repairing sun-damaged skin and fading tan lines. Moreover, Coconut milk's anti-inflammatory prowess comes to the rescue, soothing sunburned and irritated skin after prolonged sun exposure.
To harness the wonders of coconut milk for tan removal, simply apply fresh coconut milk directly to the tanned areas of your skin, allowing it to work its magic for 20-30 minutes. Rinse off with water afterward.
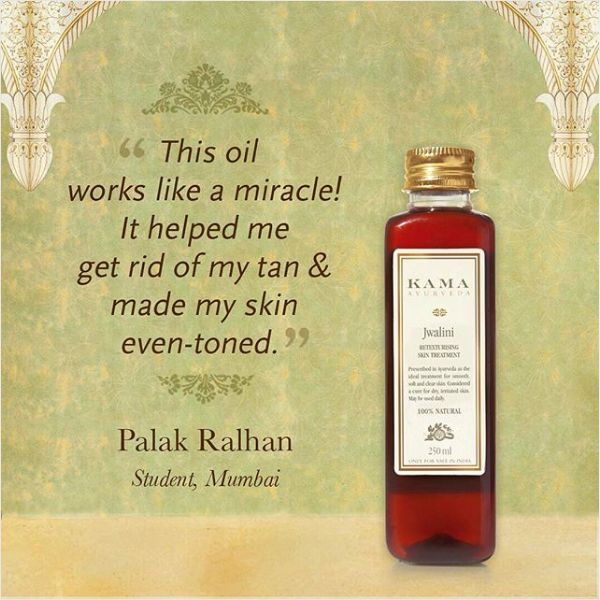
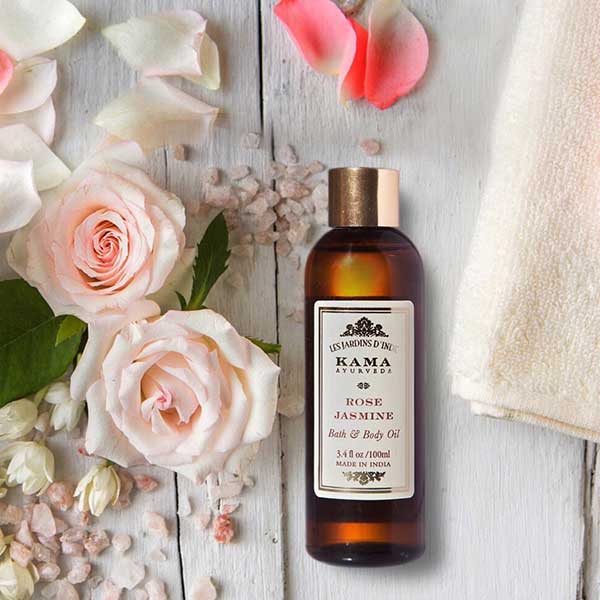
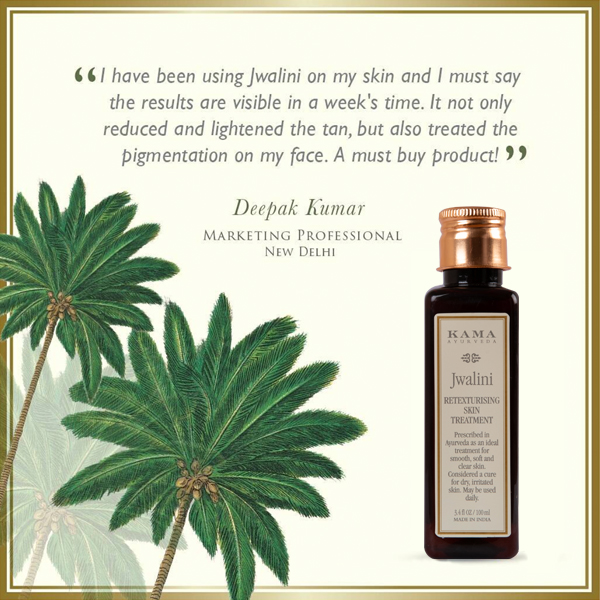
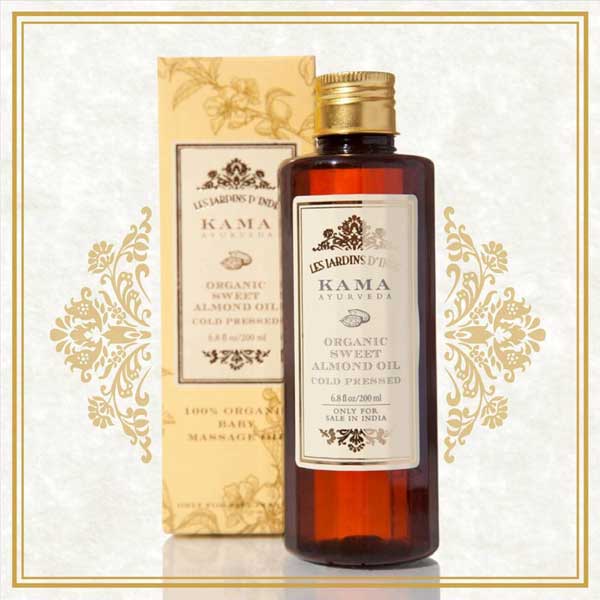
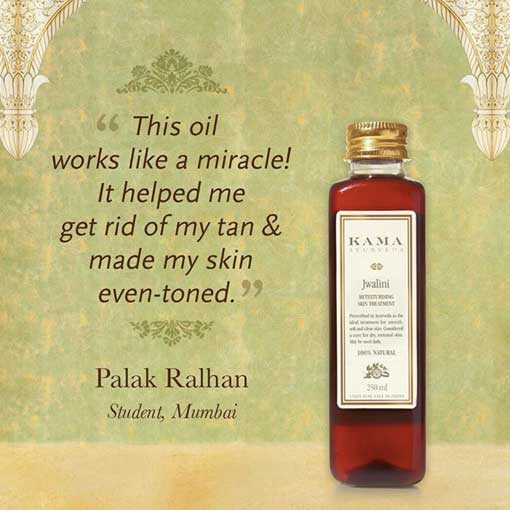
You can also use de-tanning treatments with coconut milk as the base. Kama Ayurveda’s Jwalini Retexturising Skin Treatment Oil is one such treatment suitable for face and body.
How To Remove Tan From Hands?
Here are some of the most effective ways to remove tan from hands - the potent combination of yogurt and turmeric, the exfoliating benefits of gram flour and turmeric, the soothing properties of potatoes, the nourishing effects of almonds, or the glow-enhancing milk and saffron remedy.
Let’s discuss these remedies in detail -
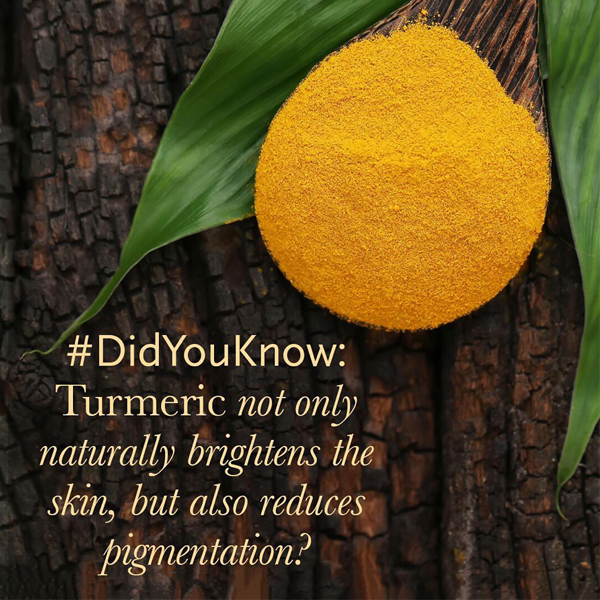
Yogurt and Turmeric
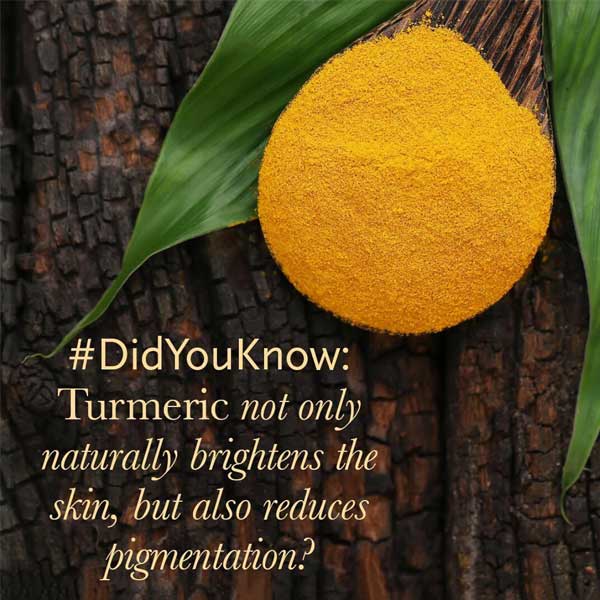
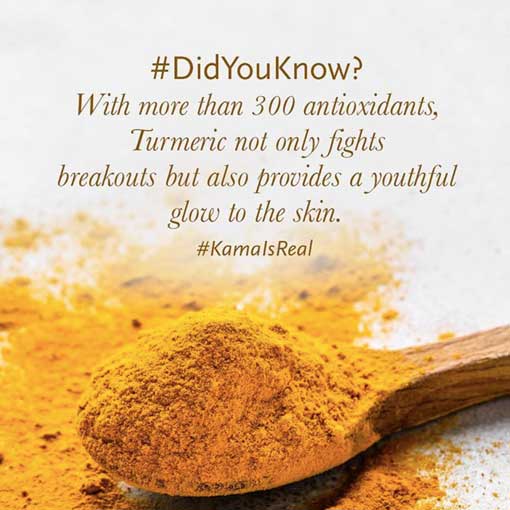
Yogurt and turmeric form a powerful combination for tan removal and skin brightening. Yogurt contains lactic acid, which gently exfoliates the skin, removing dead cells and tan. On the other hand, Turmeric is known for its anti-inflammatory and antioxidant properties, which can help repair sun damage and promote a more even skin tone. (4)
Create a paste by mixing a tablespoon of Yogurt with a pinch of Turmeric powder. Apply the paste on the tanned areas of your skin and let it sit for 15-20 minutes. Then, rinse it off with water, gently massaging the skin to exfoliate.
Gram Flour and Turmeric
Gram flour (also known as chickpea flour) and Turmeric are a potent combination for tan removal from the hands. Gram flour acts as a gentle exfoliant, while turmeric has anti-inflammatory and skin-brightening properties.
Create a thin paste by mixing 1 tsp of Turmeric with a cup of Gram Flour and some water or Milk. Apply the paste to your hands, targeting the tanned areas. Allow it to dry for 15-20 minutes before gently scrubbing it off with water, using circular motions to exfoliate the skin. Finally, rinse your face with cool water and pat it dry.
What experts say -
“Home remedies for tan removal offer a safe and cost-effective approach. Ingredients like Yogurt, Turmeric, and Cucumber have skin-brightening properties that gently fade tan." - Dr Gopan G
Potato
Potatoes help with tan removal due to their enzymes, including catecholase, which has mild bleaching effects, and vitamin C, which combats sun damage. Their high water content moisturizes the skin, and their cooling effect soothes sun-exposed skin, reducing redness and inflammation.
Start by washing a fresh potato thoroughly. Slice it or grate it to extract the juice. Rub the potato slices or apply the juice directly to the tanned areas on your hands. Let it sit for 15-20 minutes. Afterward, rinse it off with water and gently pat your hands dry.
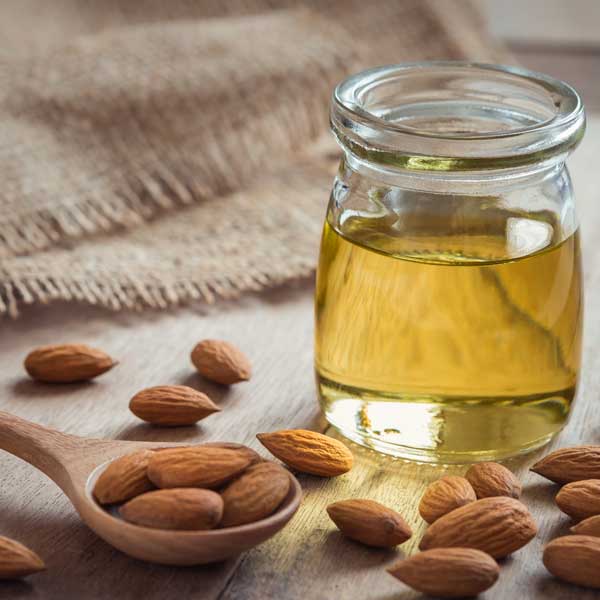
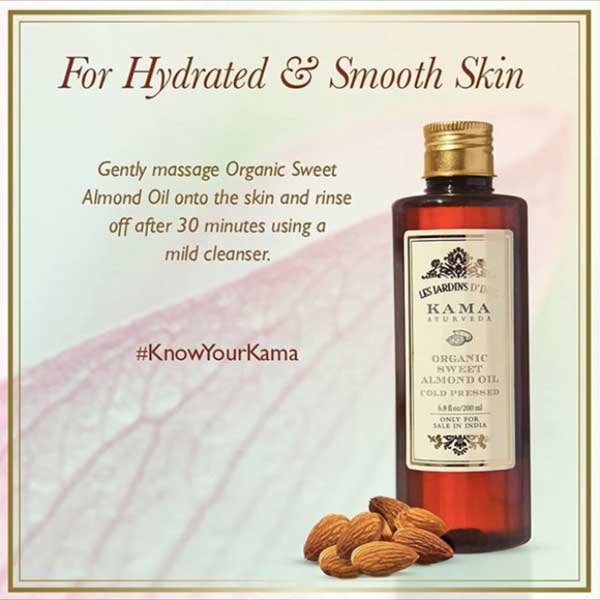
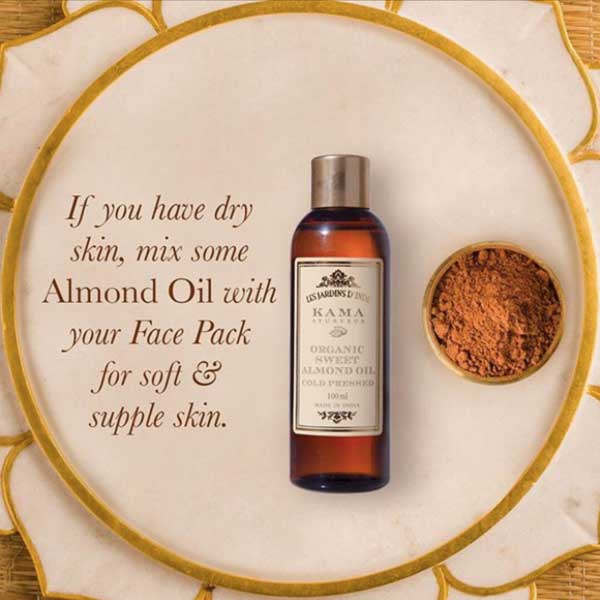
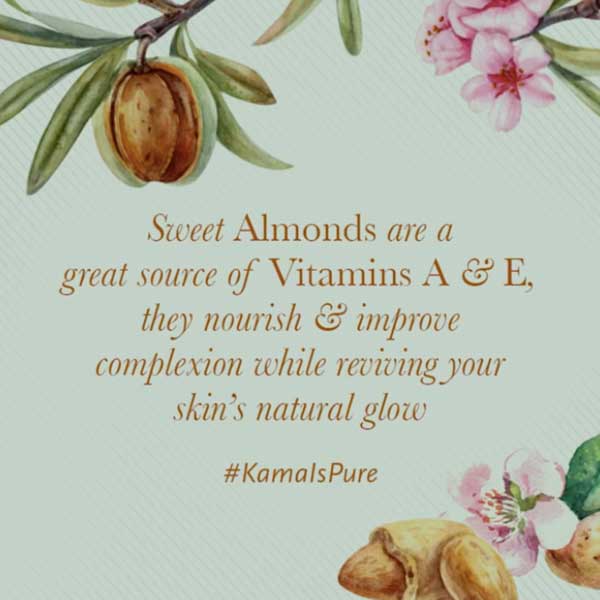
Almonds
Almonds are a rich source of Vitamin E which nourish the skin and heal it from any damage from the sun. Almonds also have bleaching properties that help in removing tan.
Create a paste of Almond by grinding it with Rose Water. Use it as a tan removal scrub on the affected areas. You may squeeze some Lemon into the paste prepared by grinding almonds with rose water to increase its effectiveness in removing tan.
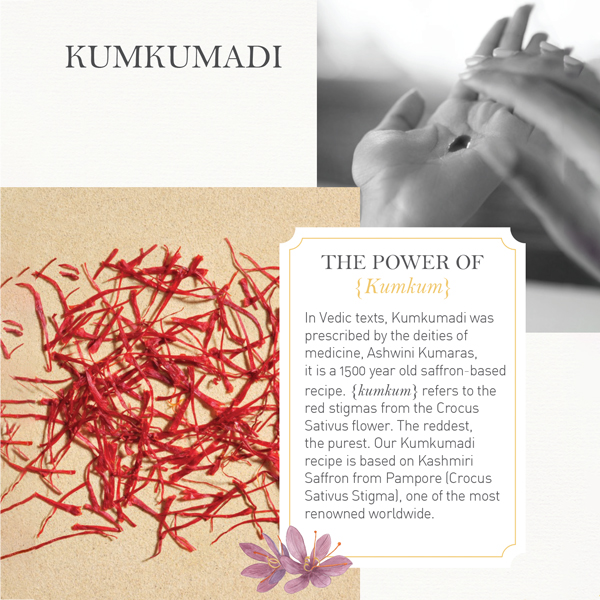
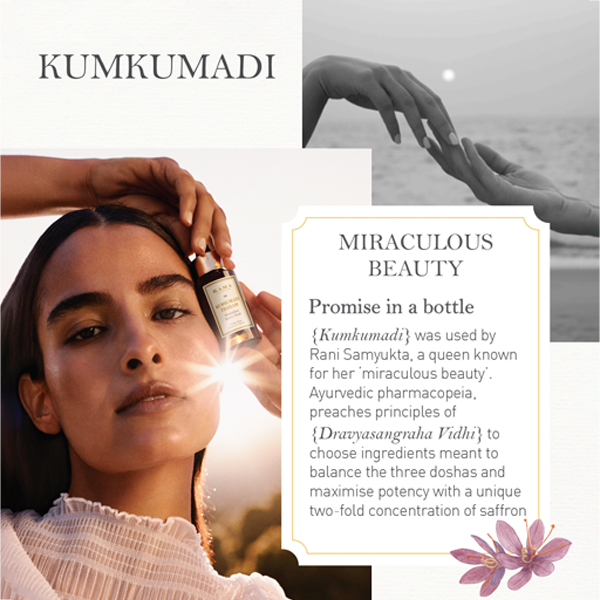
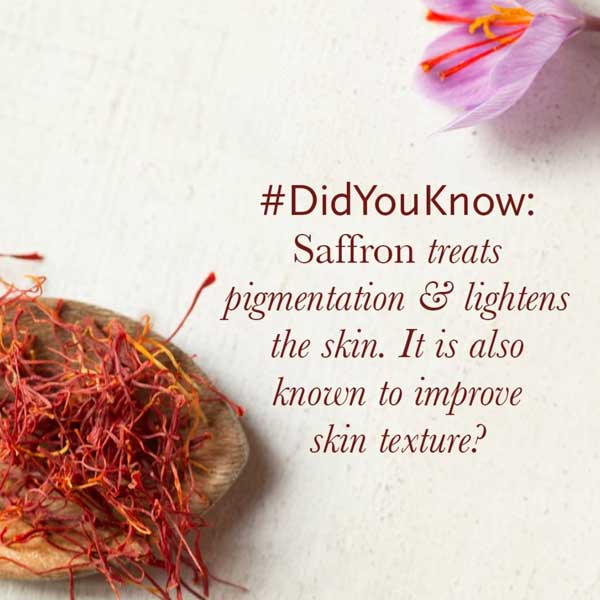
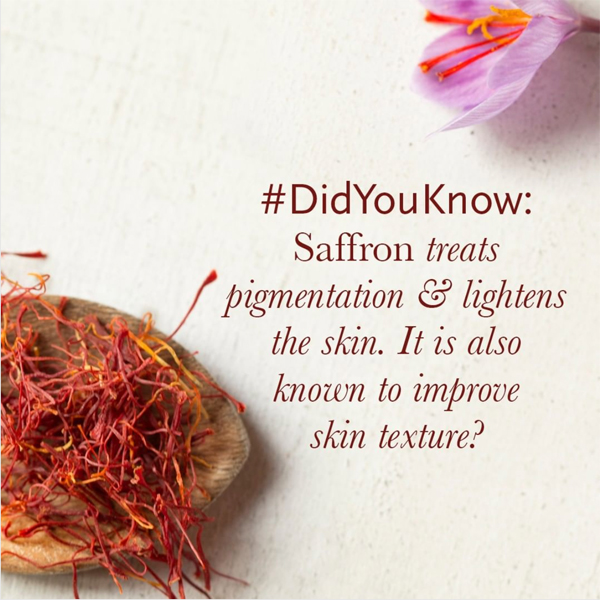
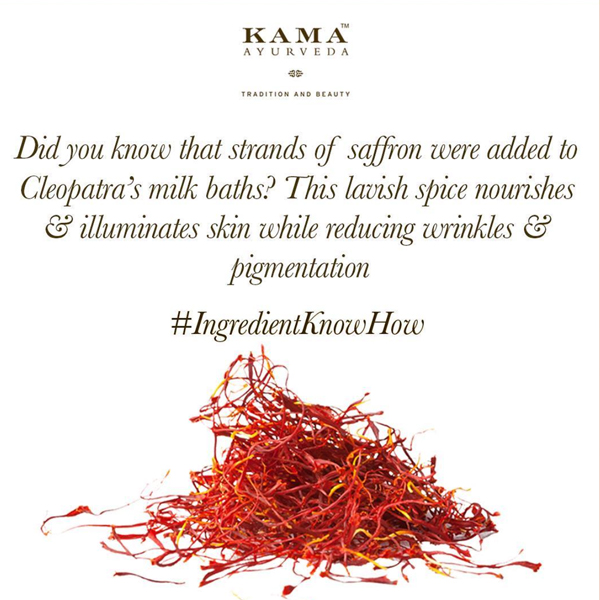
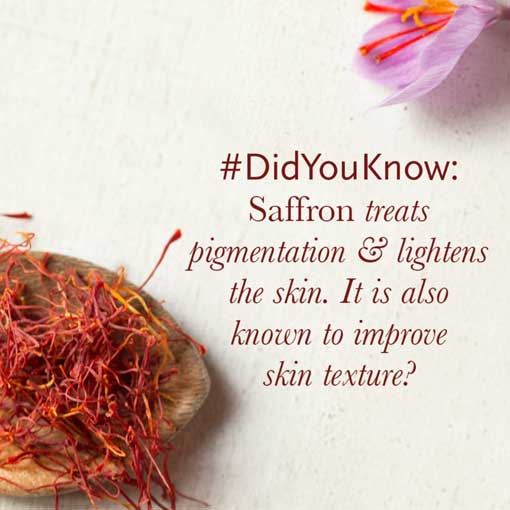
Milk and Saffron
Saffron (Kesar) is a traditional beauty ingredient found in Indian households. Using Saffron is a natural way to get glowing skin. It is also known to improve skin texture, treat ailments like pigmentation, dark circles, pimples, and acne, and lighten darkened skin.
Simply soak a few strands of saffron in milk for some time. Apply the milk on affected areas. To provide better moisturization to the skin, Saffron can be soaked in cream instead of milk.
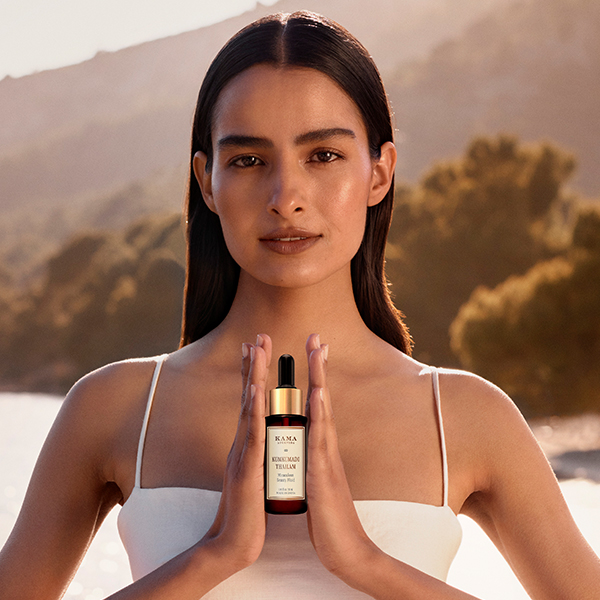
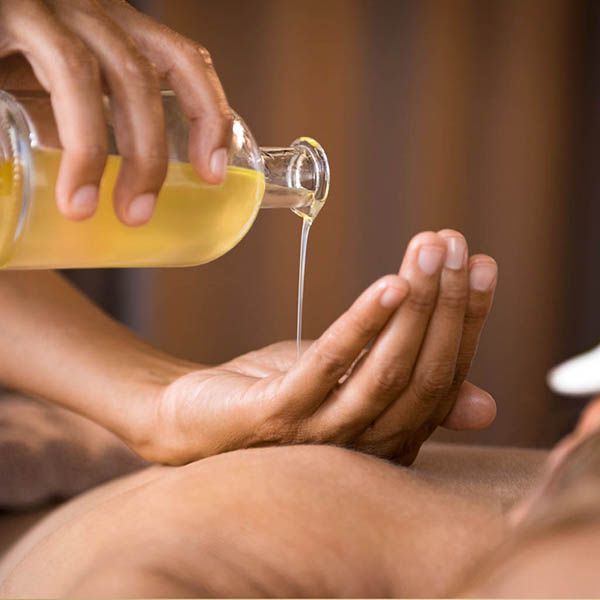
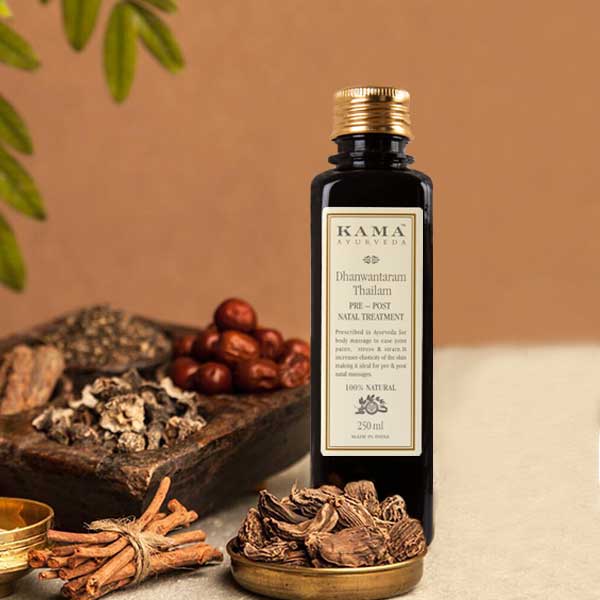
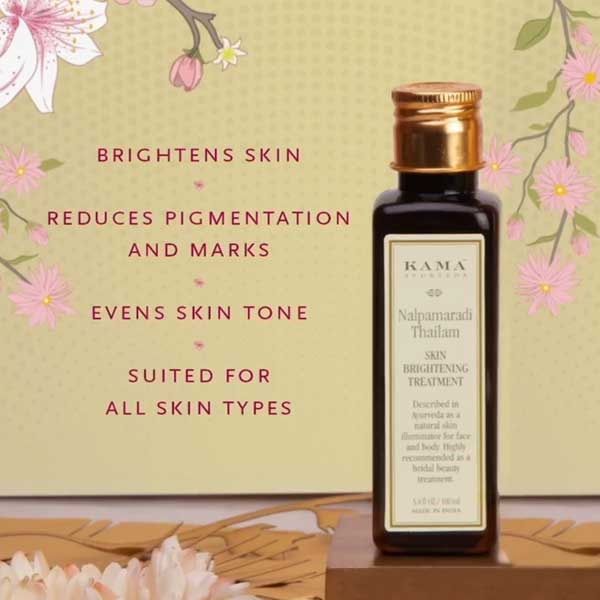
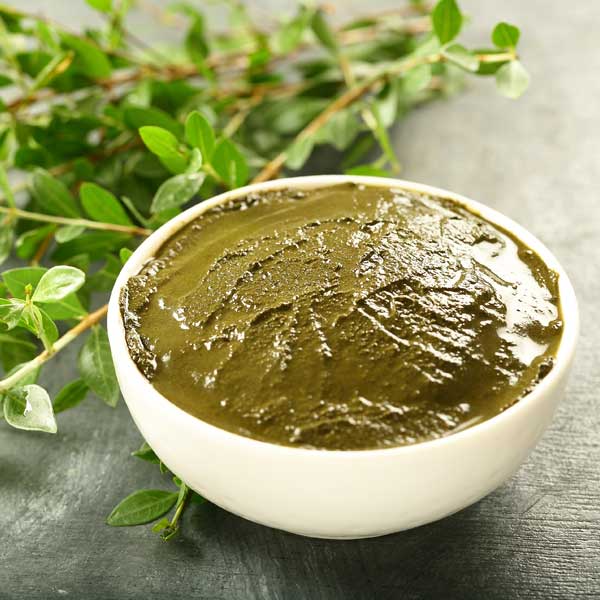
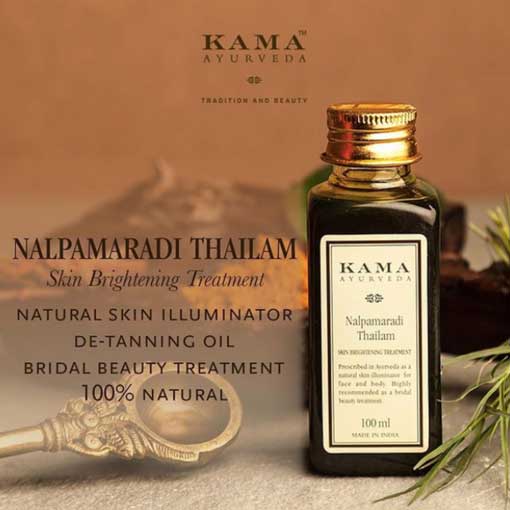
Ayurvedic De Tanning Oil
Described as a natural skin illuminator in Ayurveda, Nalpamaradi Thailam is a miracle oil that lightens the complexion and removes tan without causing any harm to the skin. It has the power of potent turmeric to remove pigmentation, even out skin tone, and erase stubborn tan marks.
Post cleaning your face and body, pour some oil on your palm. Start with gently massaging your face in a circular motion until fully absorbed. Then, gently massage the oil all over your body in brisk upward and downward strokes until fully absorbed.
How To Remove Tan From Feet?
From the soothing combination of Oatmeal and Buttermilk to the zesty exfoliating scrub of Lemon and Sugar, and the gentle yet powerful effect of Masoor dal, these remedies will leave your feet bright and beautiful.
Oatmeal and Buttermilk
Indulge your feet in the soothing combination of oatmeal and buttermilk to bid farewell to unwanted tan. Oatmeal acts as a gentle exfoliant, sloughing off dead skin cells and tan, while buttermilk's lactic acid content helps lighten the skin, reducing the appearance of tan.
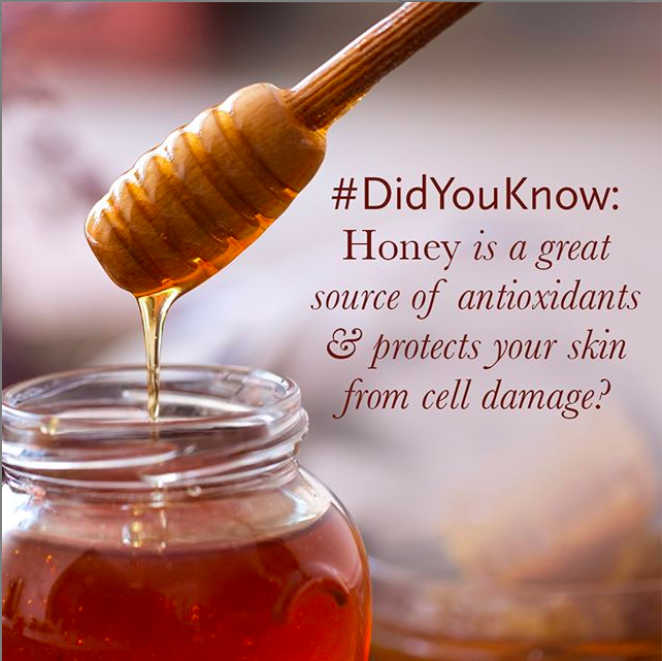
Soak 2 teaspoons of Oats in half a cup of water for about five minutes. Add 2-3 teaspoons of fresh, plain Buttermilk to it and mix well. You can add Honey as well to make the pack more moisturizing. Mix these ingredients well to form a paste and then apply it to the areas affected by tanning.
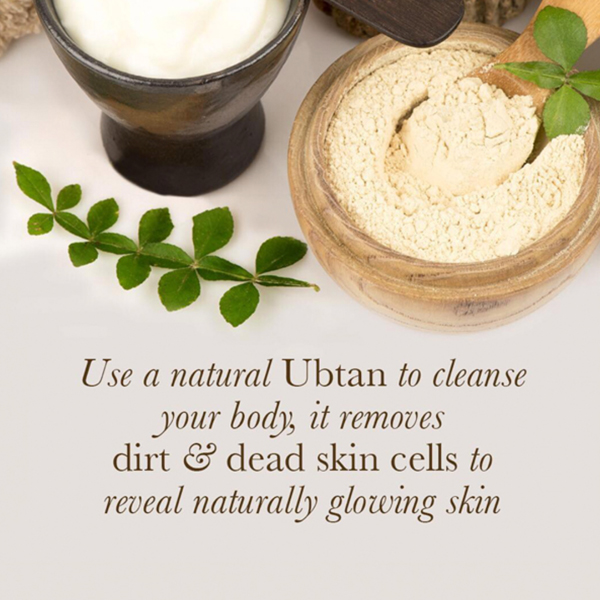
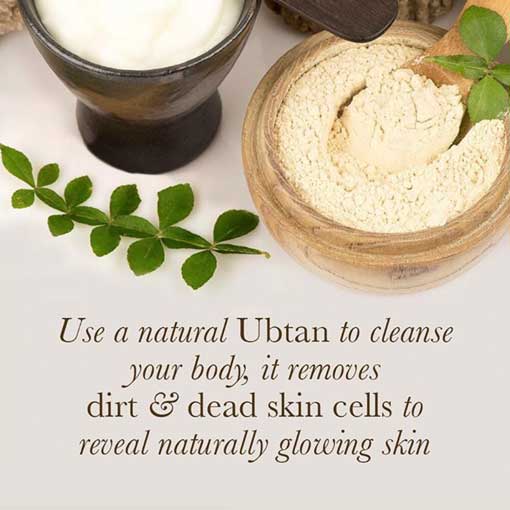
Oatmeal is also a key ingredient of the traditional Ayurvedic recipe for Ubtan. You can also use Kama Ayurveda’s Ubtan (a powdered mix of Ayurvedic herbs and natural ingredients) as a soap-free natural cleanser to remove tan from feet and other parts of body.
Cucumber and Lemon
When blended together, Cucumber and Lemon form a potent tan removal remedy that calms and rejuvenates sun-exposed skin. Cucumber's hydrating properties soothe the skin, while Lemon's natural bleaching abilities work to fade tan and restore an even skin tone. (3)
Apply the mixture all over your feet, including the tanned areas, and let it sit for 15-20 minutes. Afterward, rinse off with water and gently pat your feet dry to reveal tan-free and revitalized skin.
What experts say -
“Lemon's citric acid not only acts as a natural bleaching agent but also helps in breaking down melanin pigments, making it an effective remedy for tan removal.” - Dr Kanchan Kachroo
Lemon And Sugar
The zesty exfoliating scrub of Lemon and Sugar serves as a powerful tan removal treatment. Lemon's citric acid acts as a natural bleaching agent, breaking down stubborn tan lines, while Sugar's fine granules gently slough off dead skin cells, revealing radiant and tan-free feet.
Prepare a grainy paste by mixing lemon juice and sugar, massage it onto your feet, especially the tan lines, and leave it on for 10-15 minutes. Gently scrub off the mixture using circular motions, rinse your feet with water, and pat dry to unveil tan-free and radiant feet.
Masoor Dal
Unveil the secret tan eraser hidden in masoor dal. Ground to a powder, this ancient remedy becomes an excellent tan removal pack for your feet. The granular texture of masoor dal exfoliates the skin, buffing away tan and dullness.
Grind masoor dal into a fine powder and mix it with water or milk to create a paste. You can also add honey for better moisturisation. Apply the paste to your feet, focusing on the tanned areas, and let it dry for 20-25 minutes. Gently scrub off the paste with water, massaging in circular motions to exfoliate the skin. Rinse off to reveal brighter skin.
Apple Cider Vinegar
Say hello to apple cider vinegar (ACV), your secret weapon against tanning! ACV's acetic acid works wonders by gently exfoliating away tan lines and dead skin cells, while also balancing your skin's pH and reducing redness. Plus, it's a pro at promoting skin rejuvenation and brightening your complexion.
Mix equal parts of Apple Cider Vinegar and water, and gently apply it to the tanned areas on your feet using a soft cotton ball. Let it sit for 10-15 minutes before rinsing off with water and patting your feet dry to achieve tan-free and revitalized feet.
FAQs on Sun Tan Removal At Home
How to remove tan from the body?
To remove tan from your body, you can try natural remedies like yogurt and turmeric, lemon and sugar scrub, or aloe vera gel. These home remedies can gently exfoliate and brighten the skin, reducing tan lines over time. You may also consider using Ayurvedic de-tanning oil.
How to remove forehead tan?
To tackle forehead tan, apply Aloe vera gel or a mixture of Cucumber and Lemon juice to the affected area. These remedies soothe the skin, lighten pigmentation, and promote an even skin tone. Sunscreen application is crucial to prevent further tanning on the forehead.
What is a tan?
A tan is a darkening of the skin caused by exposure to the sun's ultraviolet (UV) rays. When the skin is exposed to UV rays, it produces more melanin to protect itself, resulting in a darker skin tone. Tans are often seen as a sign of sun exposure, but it's essential to protect your skin from excessive sun damage to prevent health risks.
Why do I tan so easily?
Some people tan more easily due to their skin's melanin levels. Melanin, the pigment responsible for skin color, protects the skin from UV damage. Higher melanin levels lead to darker skin and an easier tanning response to sun exposure.
Is tanning permanent?
No, tanning is not permanent. As the top layer of tanned skin naturally sheds, the tan will gradually fade over time. With proper care and protection from the sun, you can encourage quicker tan fading.
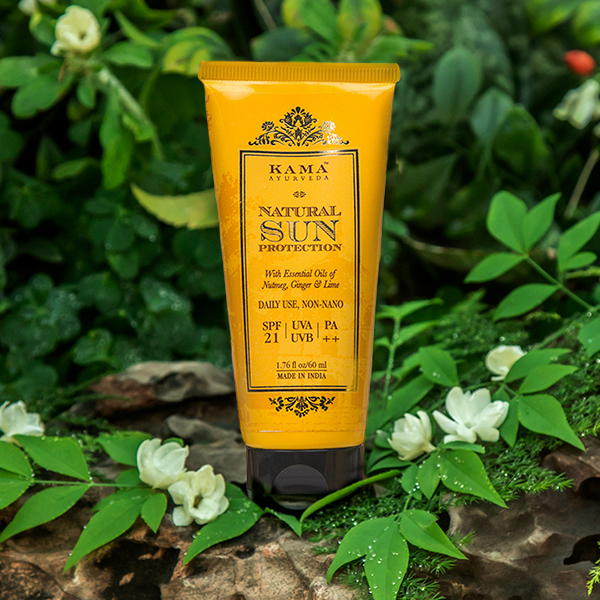
How to protect skin from sun tan?
To protect your skin from sun tan, follow these tips:
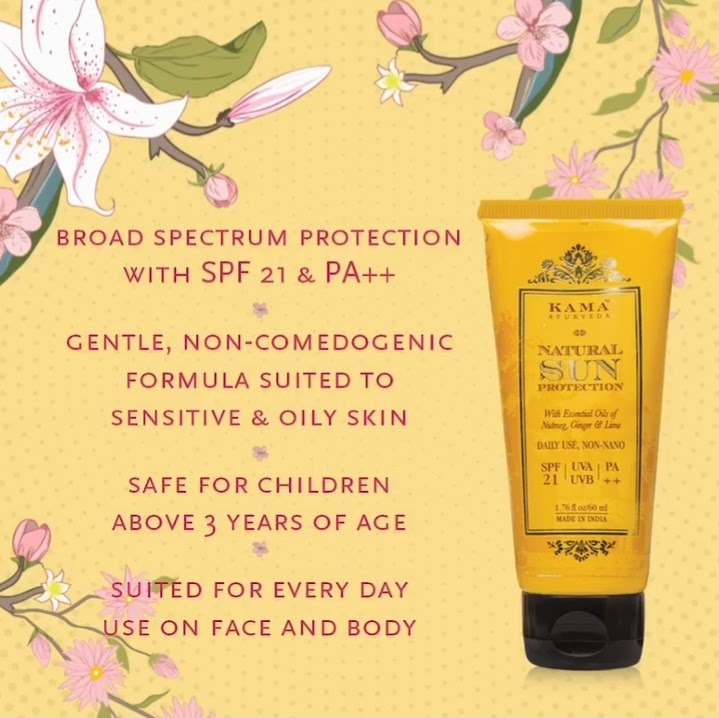
- Wear sunscreen with SPF 21 or higher, and reapply every two hours.
- Seek shade during peak sun hours (10 am to 4 pm).
- Wear protective clothing, sunglasses, and a wide-brimmed hat.
- Avoid tanning beds, as they can cause skin damage.
How to remove tan from face immediately?
For an immediate tan removal solution, try a Lemon and Sugar scrub. Mix Lemon juice and Sugar to create a grainy paste, and gently massage it on your face. This will exfoliate and brighten your skin, giving an instant glow.
How to remove tan instantly?
While tanning removal takes time, applying Aloe Vera gel or Cucumber slices can provide instant relief by soothing sunburned skin and reducing redness.
How to remove tan overnight?
Tan removal typically requires consistent efforts, but you can try applying a face mask of yogurt and turmeric before bedtime. Leave it on for 15-20 minutes and rinse off gently. Although you may not achieve complete tan removal overnight, your skin will feel refreshed and rejuvenated.
How to remove tan naturally?
Ancient Ayurveda texts claim Turmeric, Saffron, Sugar, and nut-based oils to be excellent healers of skin tanning. In this article, we’ve talked about simple tan removal home remedies that you can use to remove tan from your body.
How long does it take to remove tan?
The time it takes to remove tan varies based on the tan's intensity, skin type, and the methods used. It can take a few weeks to several months with consistent use of tan removal remedies and proper sun protection. Patience and a dedicated skincare routine are essential for achieving a tan-free complexion over time.
References -
1. https://www.fda.gov/radiation-emitting-products/tanning/risks-tanning
2. https://medlineplus.gov/tanning.html
3. https://www.ncbi.nlm.nih.gov/pubmed/23098877
4. https://www.ncbi.nlm.nih.gov/pubmed/17569219 -
5. https://www.ncbi.nlm.nih.gov/pmc/articles/PMC2763764/